Garage Update, 9.21-11.21
Back in mid September I started an update to my workspace in the garage with the goal of putting up a french cleat wall to make more efficient use of the space. So, starting with tearing off the old wall covering which was a mix of 1/4” hardboard, some kind of MDF and plywood I began…

While I had the wall open I vacuumed out the accumulated dust and replaced the outlet box with a larger one and new outlets. Then went up 1/2” finish-grade plywood. One weekend along the way I found some free cabinets on FB Marketplace and picked them up. It took some doodling to see where they would fit and be the most useful. (Our garage is a schmedium, flat-roofed 2-car garage. It holds no cars, just camping gear, storage totes galore for both of us, files and my little arsenal of woodworking tools. Need to keep things efficient, and where possible movable.)
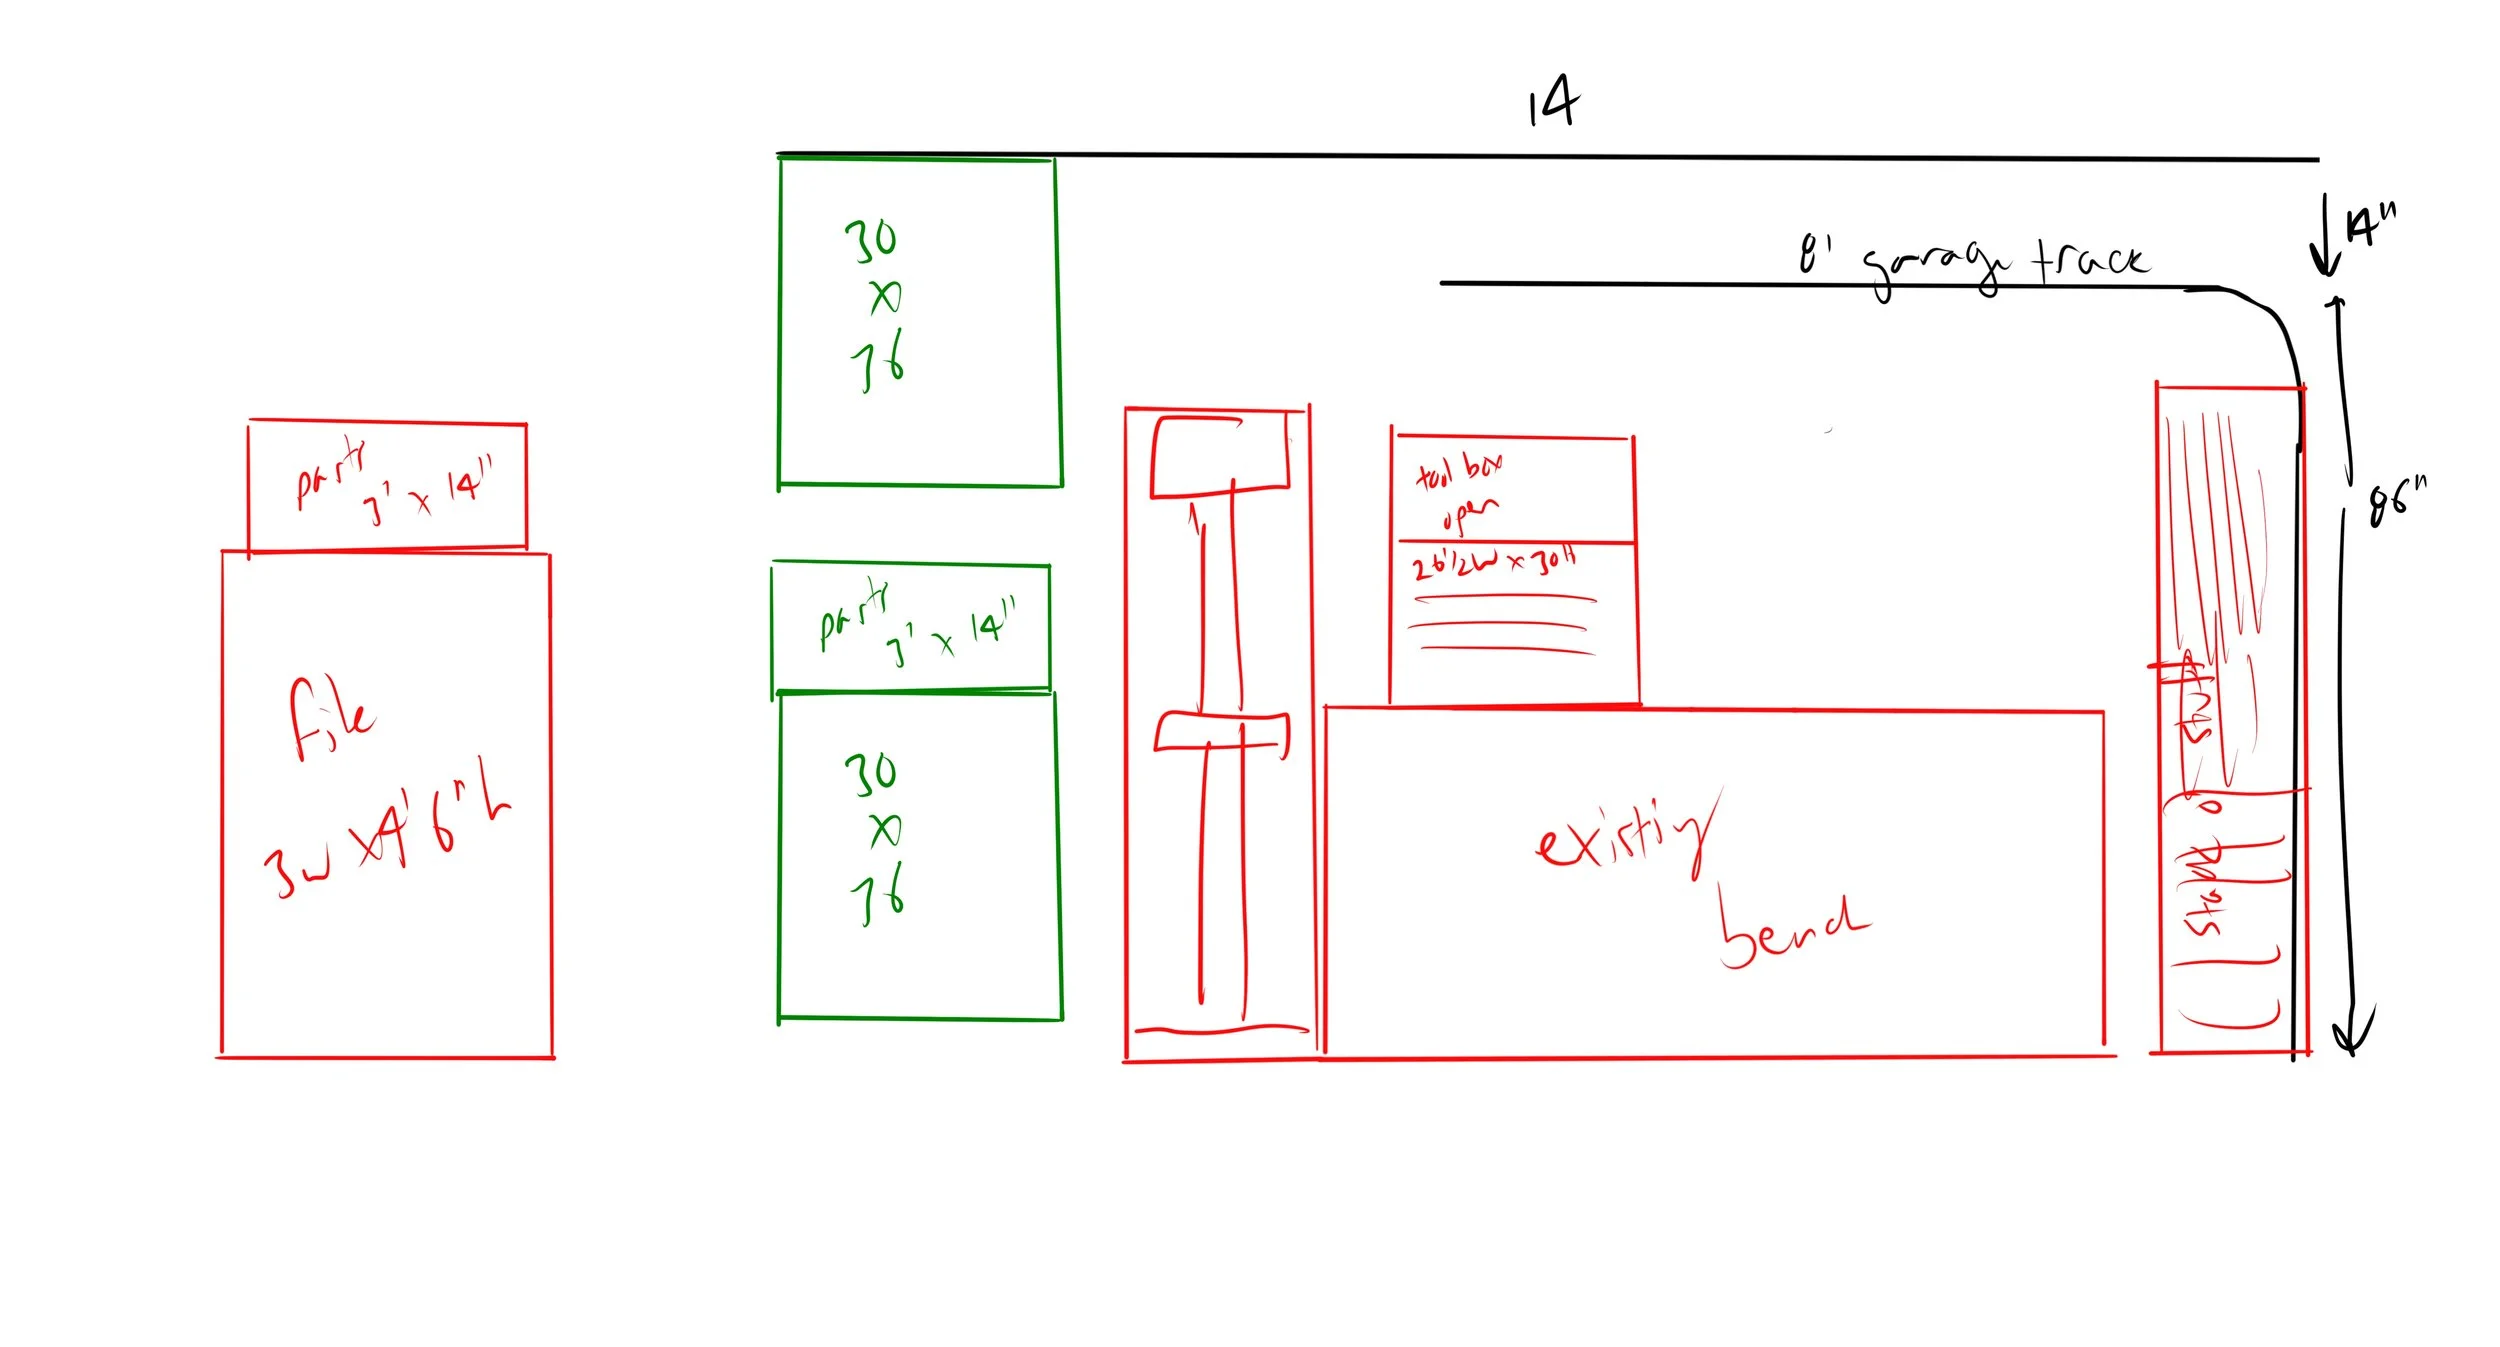
Rough ‘doodle’ sketch in ProCreate to block out the wall placement. This evolved a lot once I got started putting things in place.


Once the plywood was up I moved a few things back in place and hung the free cabinets then the first rows of cleats on the wall above the workbench. It was coming together well. I have wanted to build a better workbench than the white one that was left behind so that was the next item on the want-to-do list.
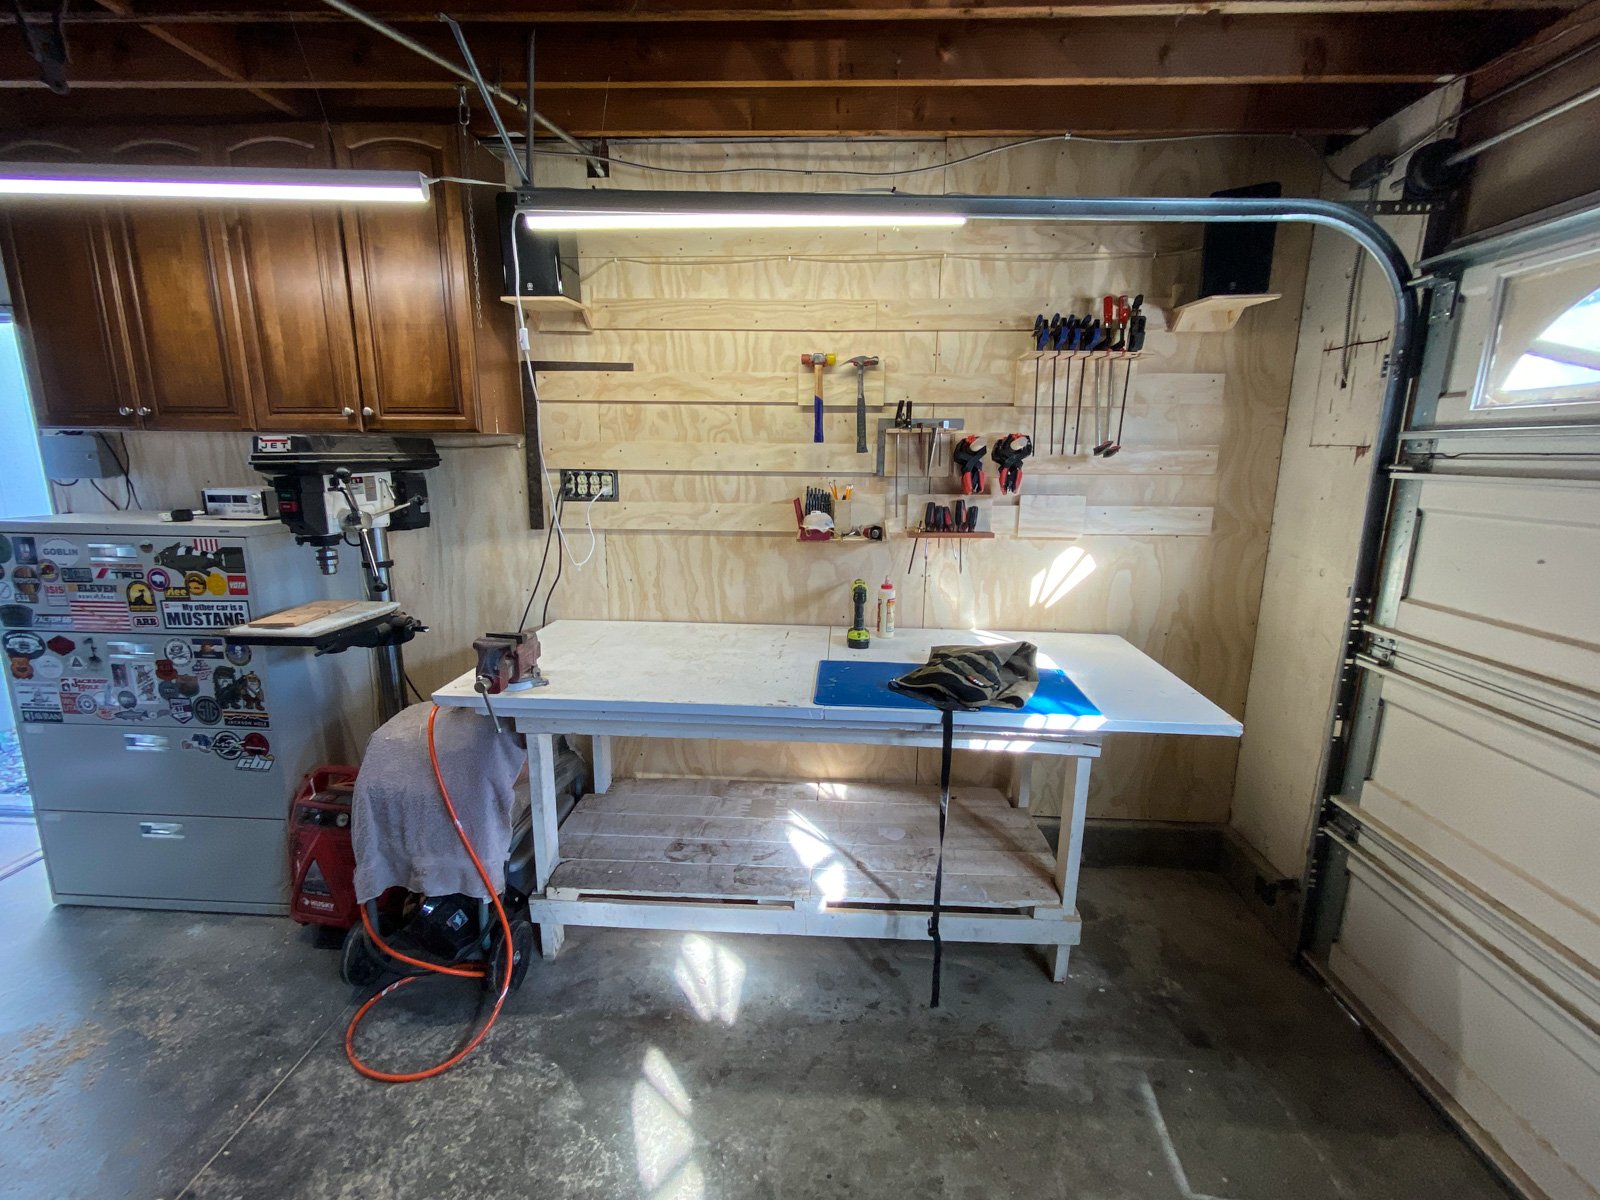
Freebie cabinets hung and old workbench in place-ish.
Then I was gifted a very old woodworking bench by a master woodcarver I’ve gotten to know a bit over the last few months. He hosts a small carvers’ circle once a week and I try to make it every other one. He has an amazing garage he’s been working in for more than 50 years, it’s like the Cave of Wonders…
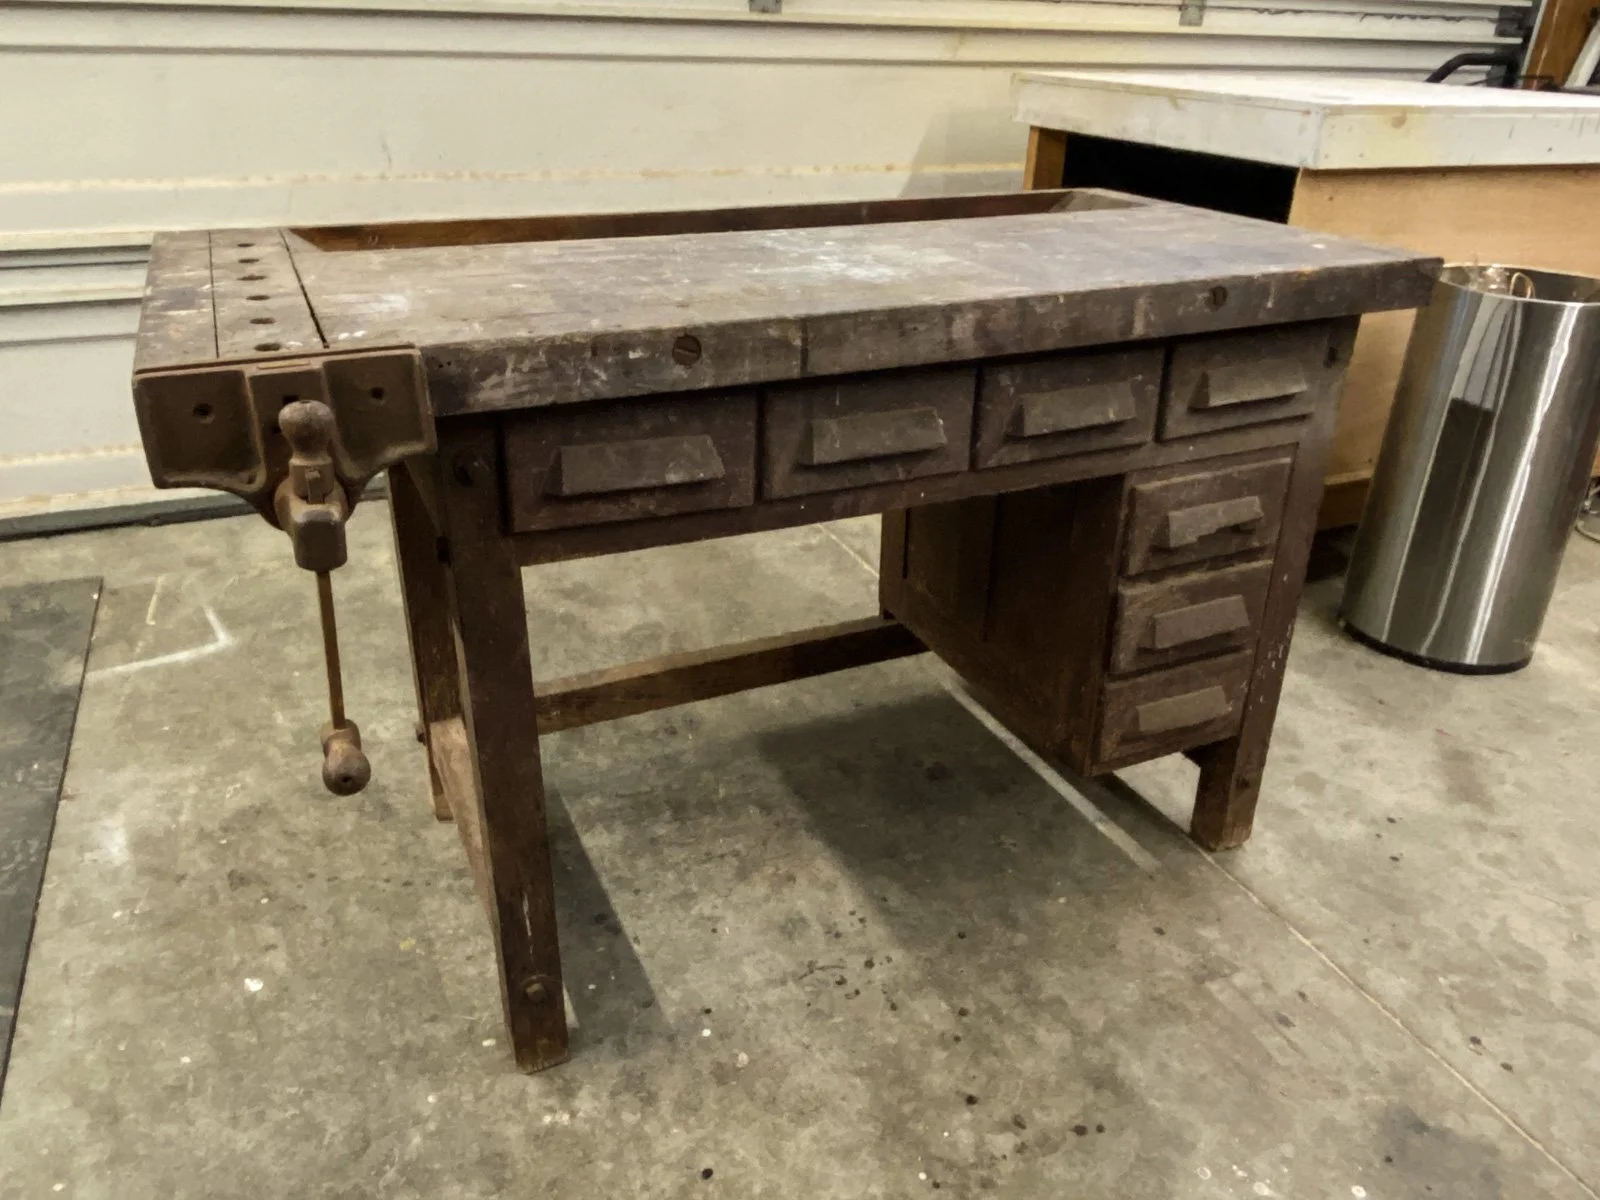
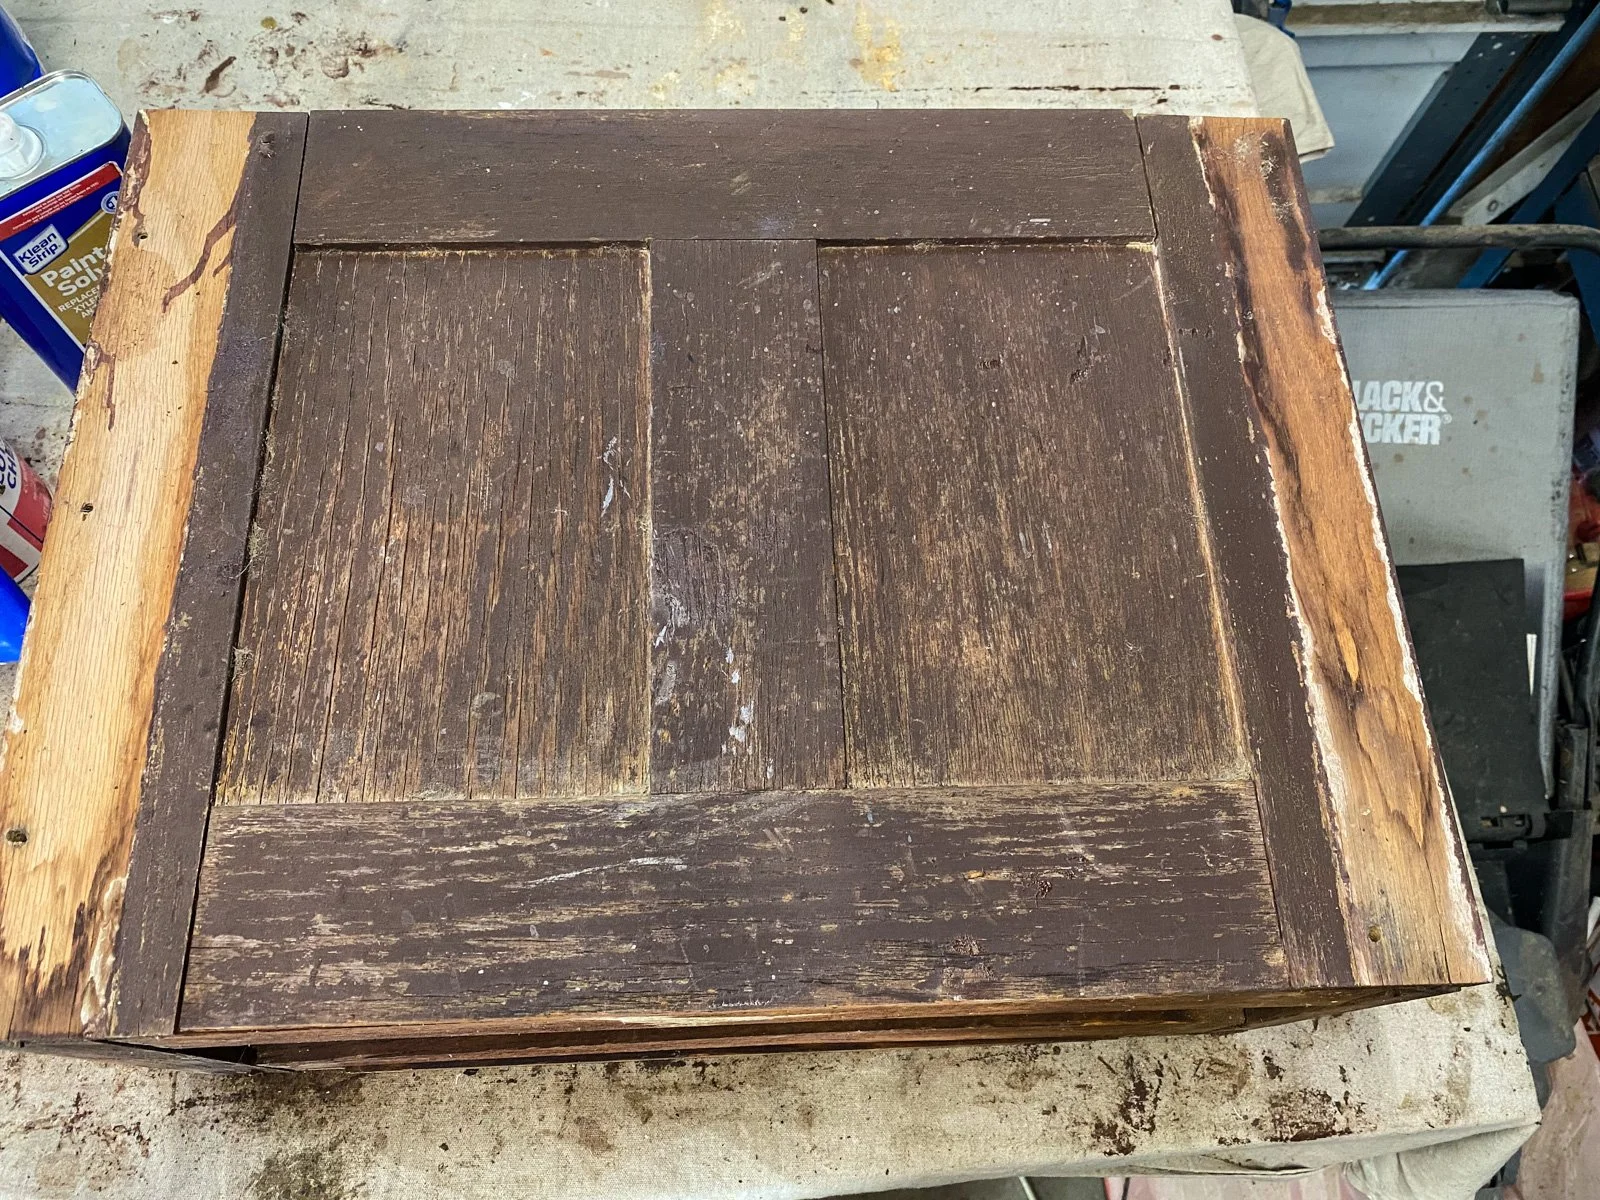
E.H. Sheldon workbench needed some TLC…
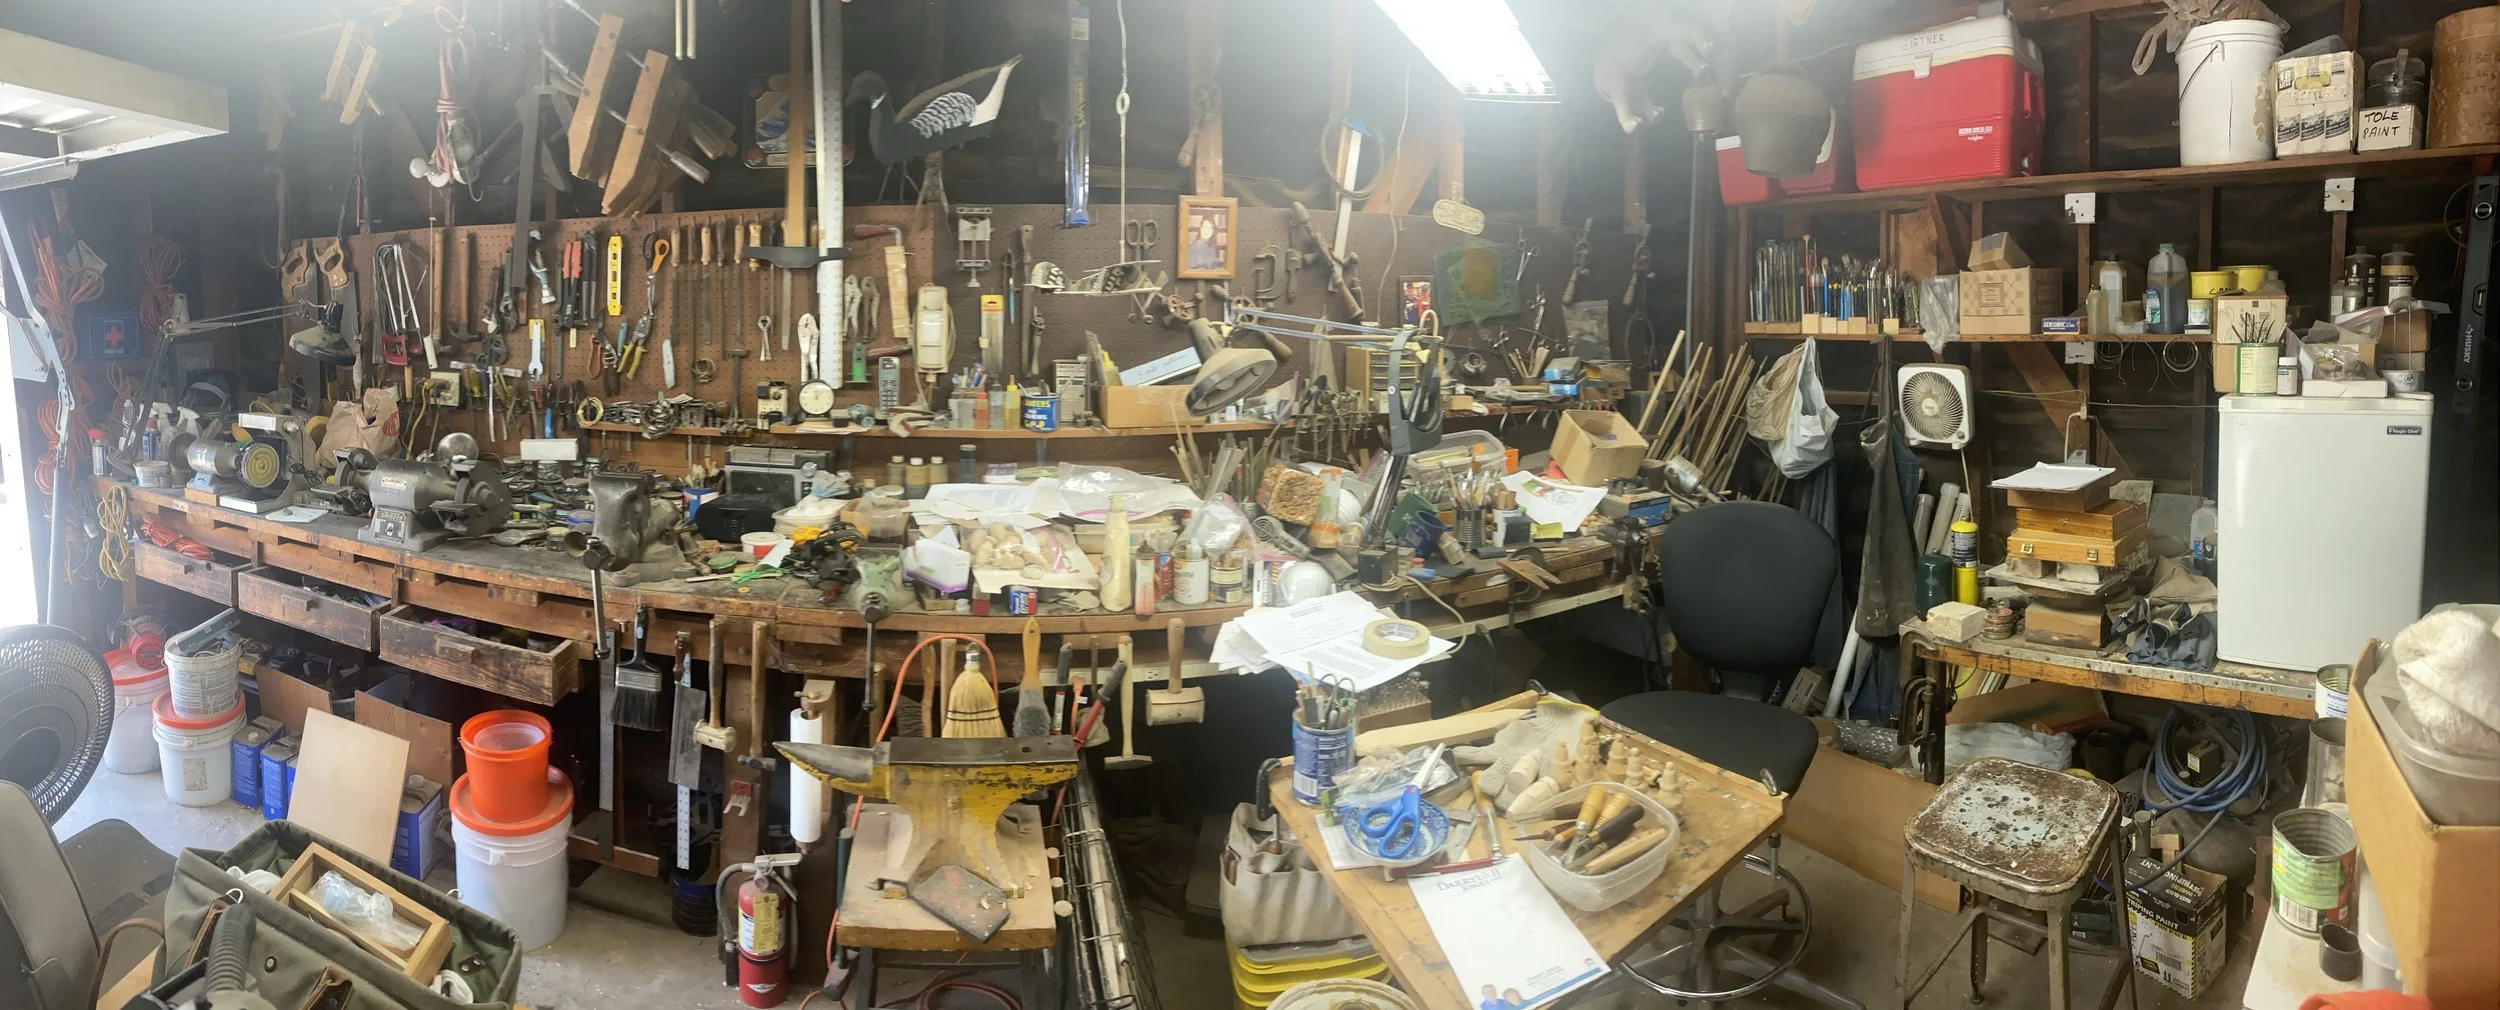
JG’s “Cave Of Wonders”
The workbench needed some TLC, so I started with taking it apart down to its main components. Along the way I joined Workbench Builders, a group on Facebook and was able to learn the maker of the bench (E. H. Sheldon) and learn its approximate vintage, something closer to 100 years old than 75.


Once apart, I stripped the grime and a layer of paint off the wood. I wanted to keep the original patina but just remove the gunk. Lots of stripper, scrubbing, thinner, steel wool, etc. I took photos along the way to document the hardware and to help remember how to put it all back together. Several coats of tung oil were applied to the pieces while the bench was disassembled, then it was time to put it all back together. I was glad to have the photo reference. Minus a dozen wood screws it all went back together with the original hardware.

“No-Disassemble!!!” - Johnny 5


The bench came with a cast iron woodworkers vice, so I dropped that off at shop to have it media blasted. Then I hit it with automotive primer and a good hard red enamel spray-paint. It’s definitely a nice pop of classic color in the garage.

I built a platform for it to make it movable and raise its height a touch. I’ll likely raise it another 1.5” for both the height and to help the casters work better.
Garage wall current state, November 7th, 2021.
As a closer to this post I received my Father-in-Law’s old Craftsman tool box and drawer unit - and it fits the garage like it was meant for it. I never got to meet Ed but I hope that he would be happy seeing them being put to use.