Little Red Rust Bucket, 2011

(This is a post I resurrected from a previous-previous blog.)
The Little Red Rust Bucket (LRRB for short) came into existence in the spring and summer of 2011 after doing research for months on small adventure / expedition trailers. They’re available for purchase but tend to be pretty pricey so I decided it would be a good project to DIY and learn a lot along the way.

I scoured Craigslist for a month and turned up an old M416 trailer over in Santa Barbara. The tub was original and the guy had fabbed a new frame for it so it was a good base and a reasonable price. It was mostly solid and had been used pretty heavily and had a fair amount of rust. I knew I was going to paint it red to match my 4Runner (I miss that truck) so it became known as the Little Red Rust Bucket.

The project began with lots and lots of grinding. While it wasn’t rusted out in any place, there were innumerable small rust spots and holes that needed to be ground down to bare metal in preparation for patching.

I purchased a small 120V Hobart MIG welder and started filling in holes and also redid the rear tailgate fabrication.
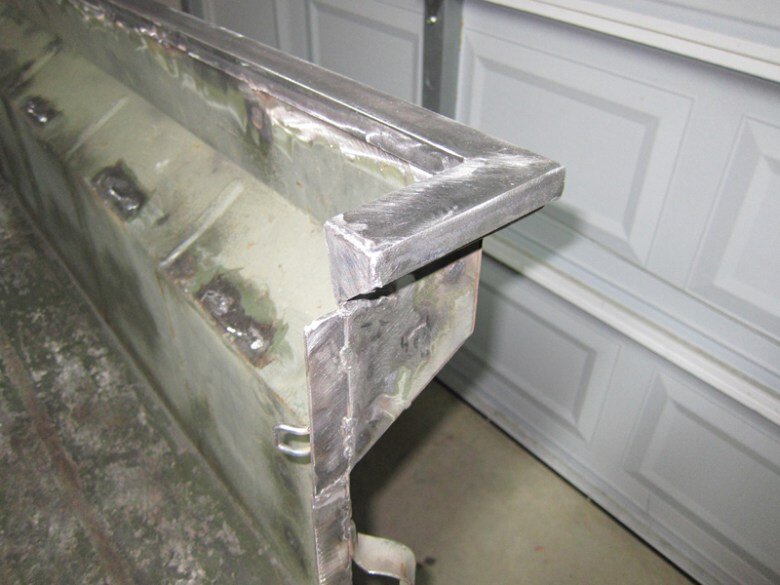
The top rails were beat to heck so I added a C-channel to them to level them out.
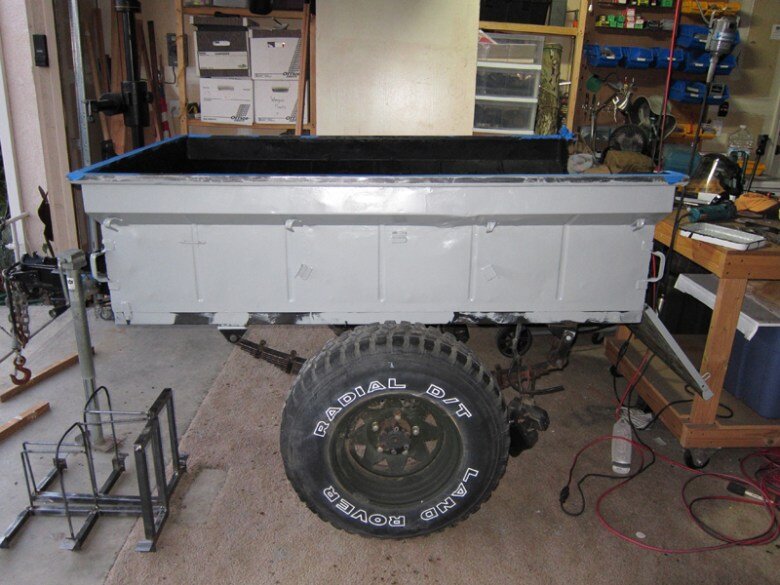
Primed and rolled-on bed liner in the front. The first attempt at jerry can holders at the bottom left, ended up changing the design later.

Time for some color. This was an off-the-shelf can that matched the 4Runner pretty closely.
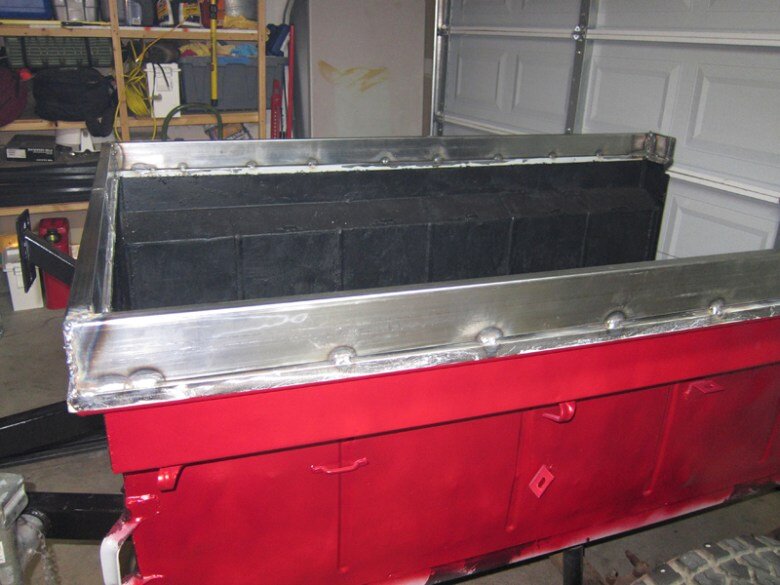
After doing a bunch of reading over at ExpeditionPortal.com and some measuring of other gear I decided that the tub needed to be a bit deeper, so I welded on a 1″ x 4″ rectangular tube which brought the depth up where it needed to be.

The lid took quite a bit of planning and sketching to figure out how I wanted to do it. It came out pretty well, I used a full-length piano hinge to help keep it square and avoid any twisting when opening/closing.
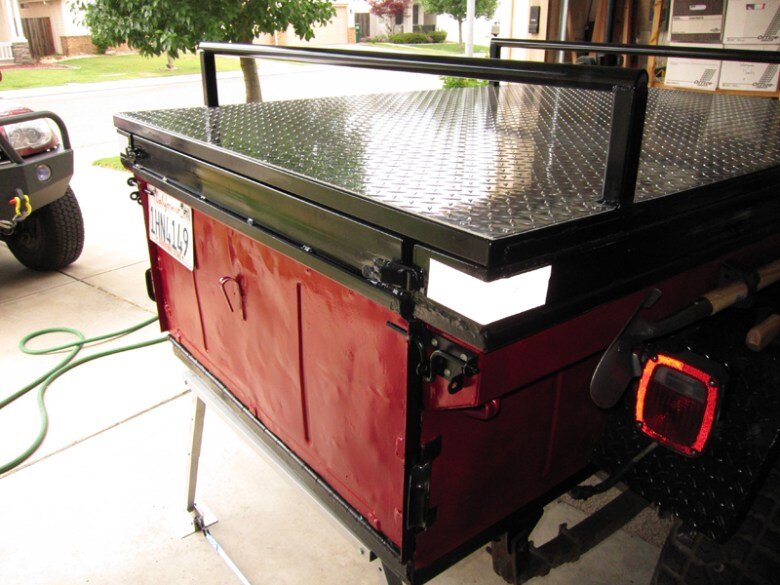
The lid is topped off with one sheet of aluminum diamond plate and then riveted around the perimeter. I had welded the towers on before but left the cross-bars off until after the top was in place. Planning that ahead made all the difference.

Air struts in place. On the lid end I had multiple mounting options so you could adjust the amount of lift they provided.

Getting close to its maiden trip, test-fitting gear here.

This was the kitchen shelf. I made it to be removable, it slid into a tongue and groove mount from the RV store.
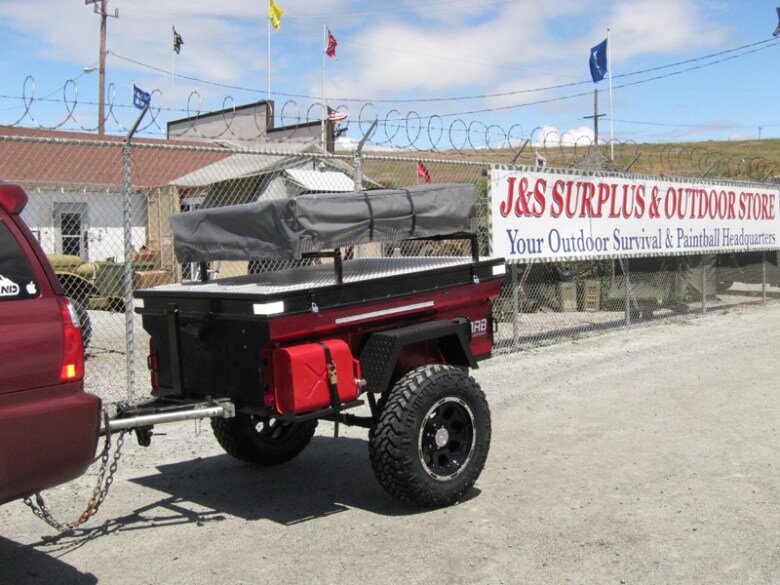
Picked up one of the first Tepui Roof Top Tents over in Moss Landing. Ready for its first time out!

First shake-down trip! Spent a few days camping with my parents up in the Sierra Nevada Mountains way up highway 108. The upside to an adventure trailer is that you can haul it all. The downside is 55MPH speed limit in CA.

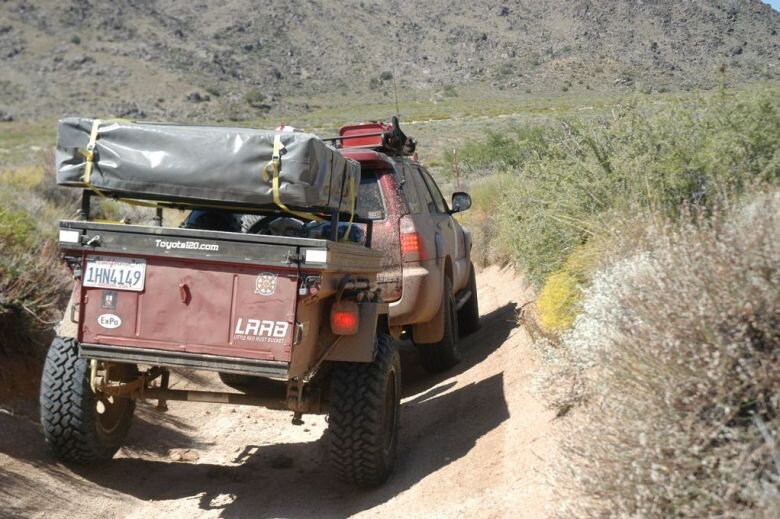
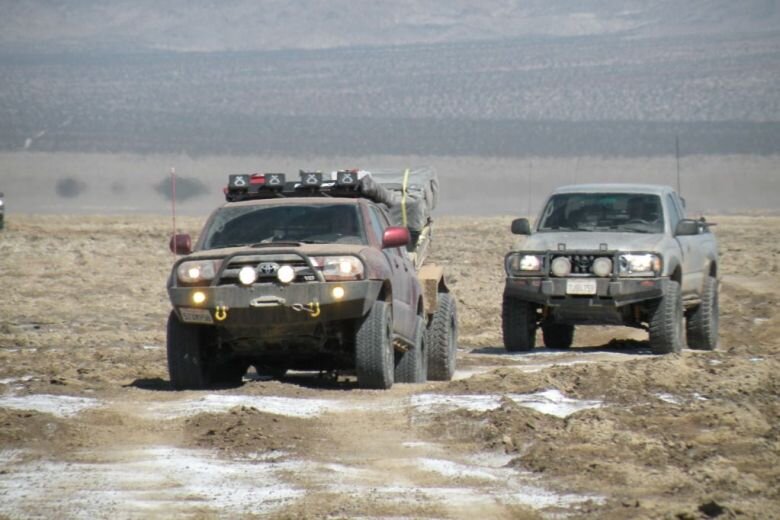
Then it was time for a real off road trip. Joined a group of friends from Toyota120.com on a full Mojave Road run. Discovered that the fenders were way wrong and eventually built all new ones that incorporated the Jerry can holders.
Pulling a trailer off-road can make it a bit more challenging experience, turning around isn’t always an option. But on general trails and fire roads its barely noticeable. On whoops its a whole other story, lol – I swear I saw daylight under both tires at some point along the Mojave Road.
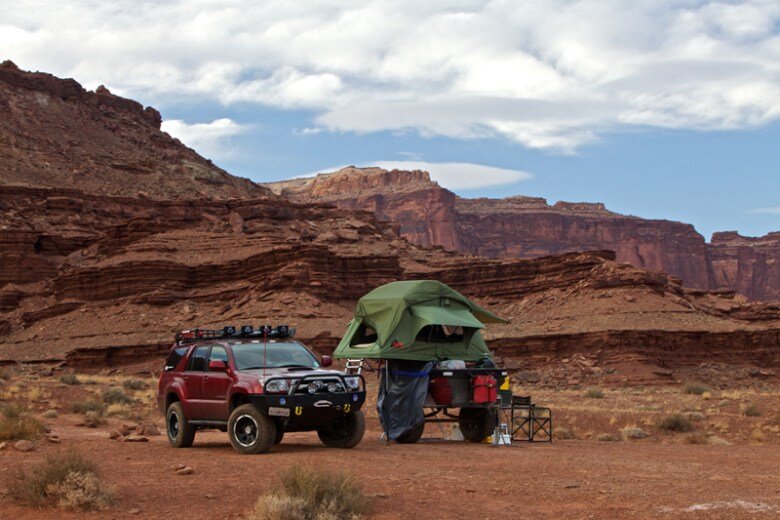
Best trip was out to Southern Utah and camped at several spots, including spending three great days meandering along the White Rim Road.
A while after this trip I learned that I’d be relocating down to Southern California and sold the trailer for enough to cover my costs and pay for the welder as well. It was a great project, I learned a lot along the way and what I'd do differently as well as what I'd do the same.