Yarden, 9.20
This multi-part series documents our backyard “Yarden” project(s) for our own interest and hopefully yours as well!
In The Beginning…
There was a hill, a hard clay hill. A treacherous slope that required continuous weeding and had spotty ground cover and no water. Our hill is about 18’ deep and about 7’ tall at the back–a relatively steep rise–and it wanted to hurt me. It was time to make it a usable part of the back yard and a bit safer to work on. That was the beginning…
I spent some time looking online at garden boxes, landscape steps, DIY retention walls and all sorts of rabbit-holes and put together a Pinterest board to keep track of a few favorite ideas. Once I had a visual picture of what and where I wanted to start it was time to begin digging.


Little mountain of river rock raked out from the planter bed. The rock got put back to work at the base of the wooden raised beds.
“God Bless Her Heart”
The previous owner of our house had river rock laid on top of nearly every dirt surface available with no barrier layer. I assume this was to “make it look nice” as she was getting ready to sell it. OMG - Do Not Ever Do This. I don’t wish ill on anyone, but whoever’s idea that was I sort of hope they end up with a small pebble in their shoe every day. Digging out the rock from the planter beds was a multi-day endeavor - and I’m not done yet, lol.
And keep digging.
On the initial lower section I let the sprinkler run for 30 or 40 minutes in a couple sessions the day before starting the dig. This softened the clay down at least a foot, making it much easier to dig. This worked until you need to stand where the clay was wet and became very slippery. Enter the NEW FAVORITE TOOL - the digging spike. Although heavy, the spike lets you dig your edges relatively precisely and will penetrate even hard/dry clay–very good for digging post holes–and I would be digging several of them.


Digging & Building
As I made progress, the layout got more clarity in my mind and by the time I had the second (top) landing cut out, I knew what the next couple steps would be. The first of those was literally steps cut into the hill for a place to stand/work. These are temporary and will be addressed in a future post. We took the time to refine our ideas for a vertical herb garden with some Pinteresting and sketching and came up with an idea we liked. Back to digging! Beth and I made a weekend scouting trip to Ganahl Lumber to look at wood options for the boxes and I was back there the next week early in the morning to get the lumber.


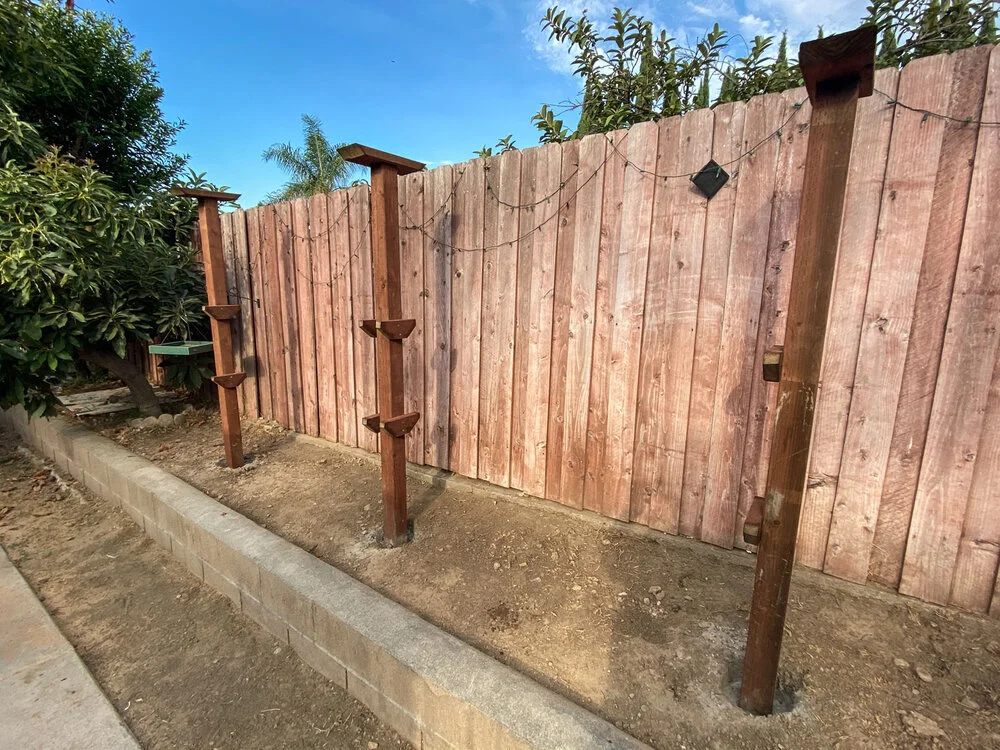


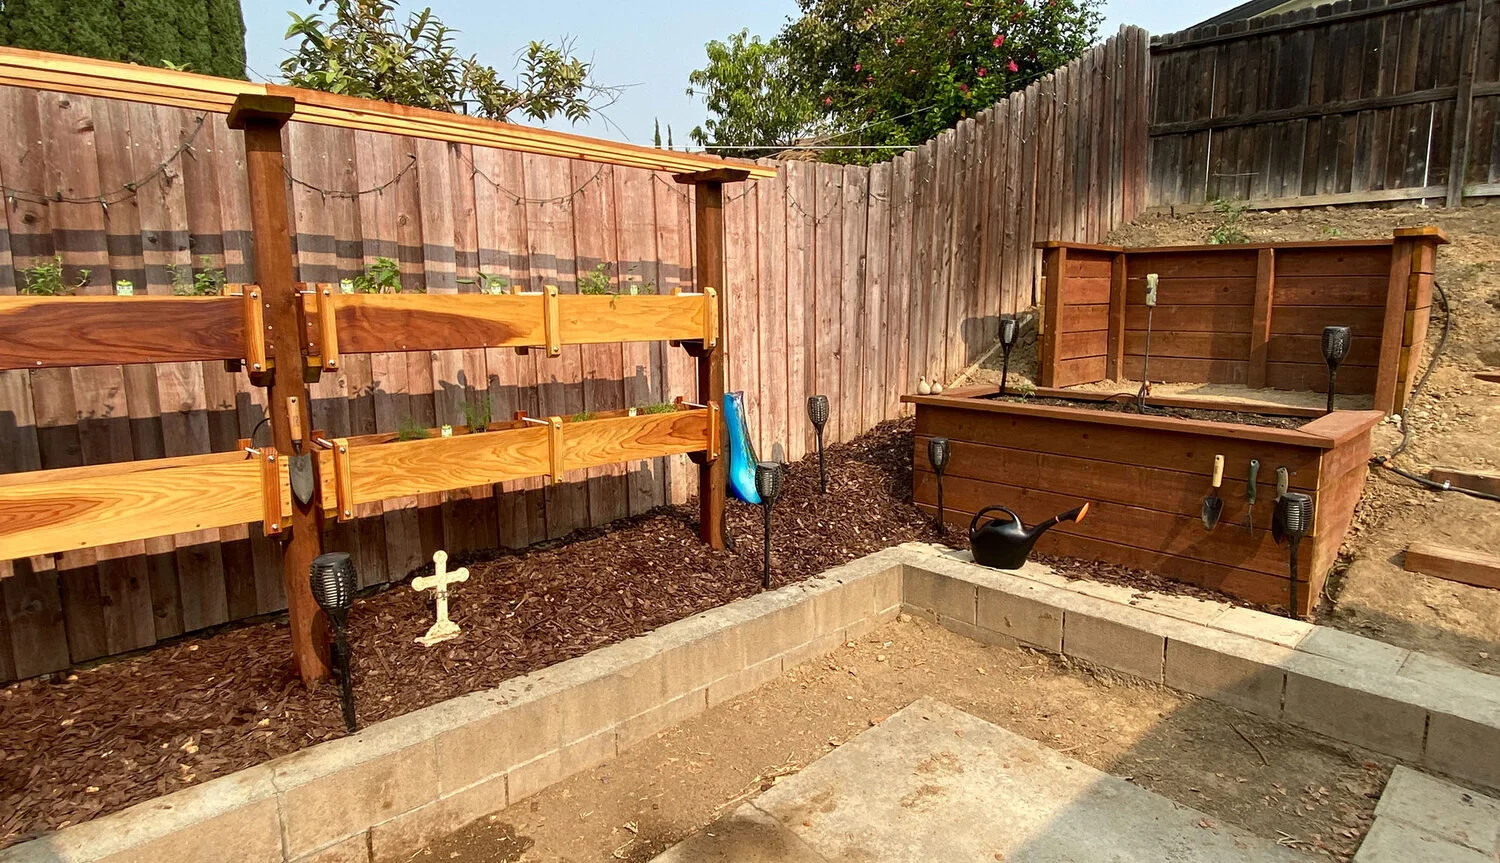
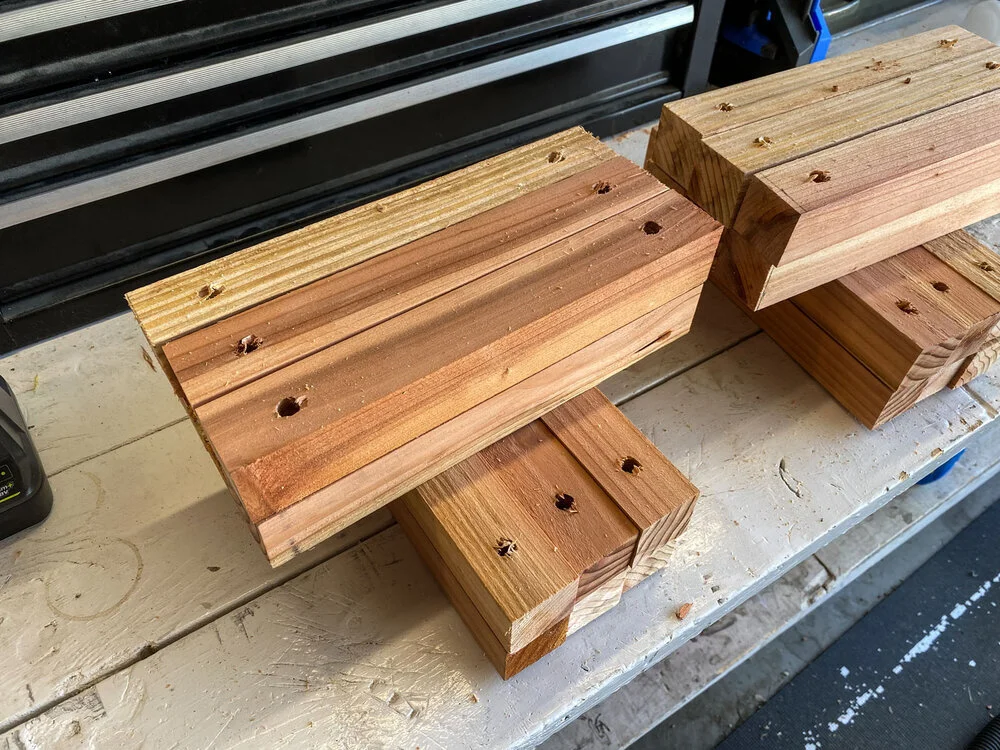
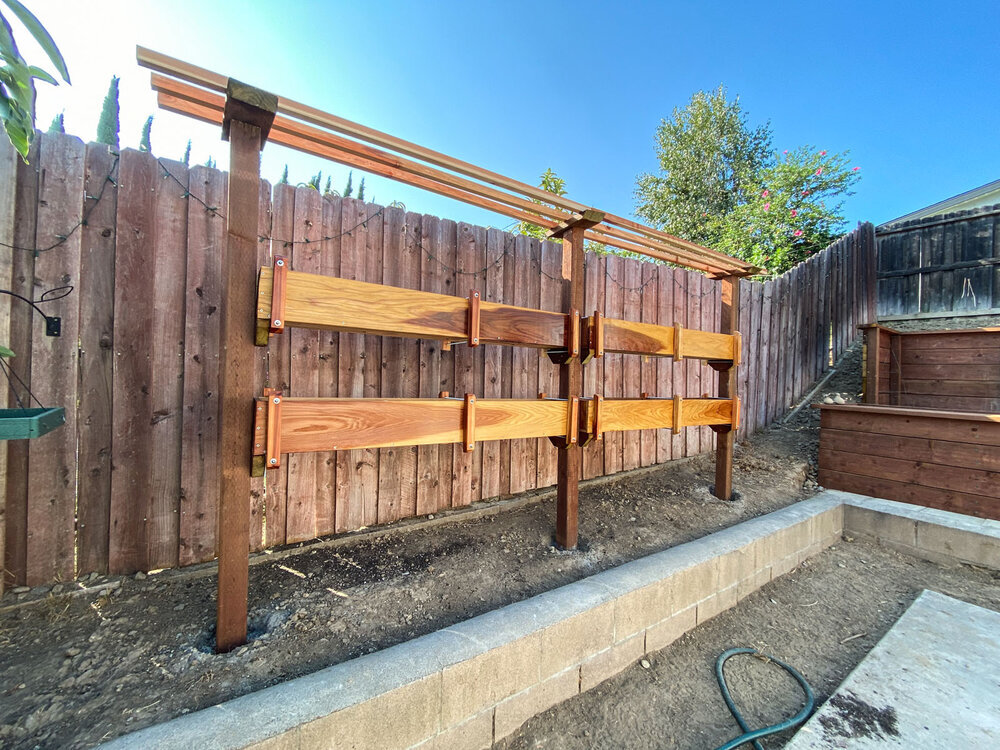
Posts were measured out, dug deep and dropped in with Quickrete. Redwood was cut and assembled into the future vertical herb garden boxes. Braces were cut and sanded and then hardware was purchased at McFadden Dale (an amazing hardware store). Kellogg soils and amendments were purchased for the boxes and the larger beds and then mixed in. Once the boxes were built and installed, they got a splash of teak oil to bring out their color and guard against the sun.


Water
Once the boxes and beds were built and filled with soil, it was time to bring water in. This was one part of the project I didn’t want to do myself. I reached out to a fellow overlander who’s a real estate agent and I asked him for a recommendation. Jeff passed along his guy’s information and we were able to schedule a quick visit and then a later installation date. He showed up timely with his son and one worker and began digging trenches and laying in new irrigation lines. A new water main was run up the hill, across the top and down to a spigot and new irrigation valves. New irrigation line up to the top of the hill for future drip for a few shrubs and ground cover (Part 2, TBD) as well as room for future valves. After some research we purchased an Orbit irrigation controller with WIFI, it has a mobile app making it easy to program and use - “YAY” for technology.
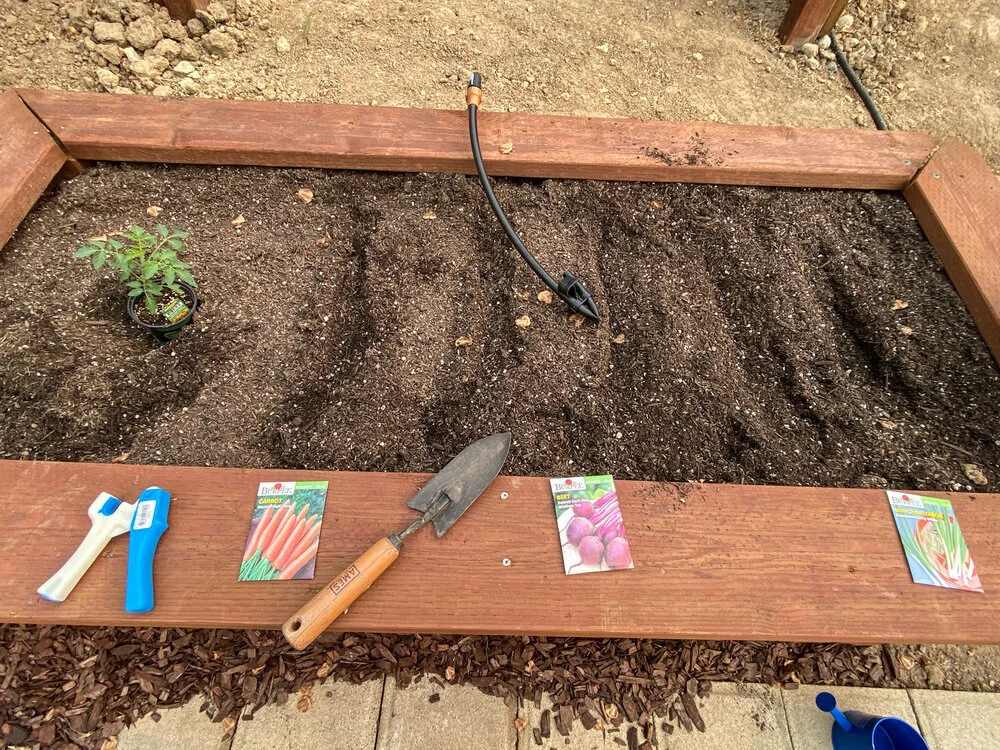
Time to Plant
With a “few” trips to our close-by Home Depot store and I had the drip irrigation system roughed in and it was time to plant. So we planted Dill, Cilantro, Oregano, Sage, Mint, Thyme, Basil, Tomato, Cherry Tomato and Yellow Pear Tomato starters. Then Bunch Onions, Red Beets, Shorty Carrots, Sweet Red Peppers and Shoshito Peppers were all planted by seed. I tested and adjusted the drip system and emitters and glad to say that everything works (although it ‘may’ have taken another trip or two to H.D.).


Planted, and growing…
This project started back in late June and now its mid September, so yes it has been fuelled in part by the 2020 ‘rona situation. Even a dark cloud has a silver lining. All that that said, it’s been enjoyable to get my hands dirty, get tired, wake up thinking about digging holes in the dirt, etc. Next up is to finish some rock removal, build better steps and then ground cover and plantings on the hill this fall/winter, but right now we’re going to enjoy homegrown herbs and some veggies.

Gabby, our Project Manager hard at work.