Photo Wall, 05.19
It’s been a while since posting as we’ve been busy with big life changes. In February we bought a house in Yorba Linda, just on the edge of the 91/55 freeways and then got married up in Yosemite at the end of this March. Lots of time working on a backyard that has a steep slope on one and and was really overgrown and then some time on getting patio and other backyard stuff squared away. There will definitely be more house projects posted here. ;)
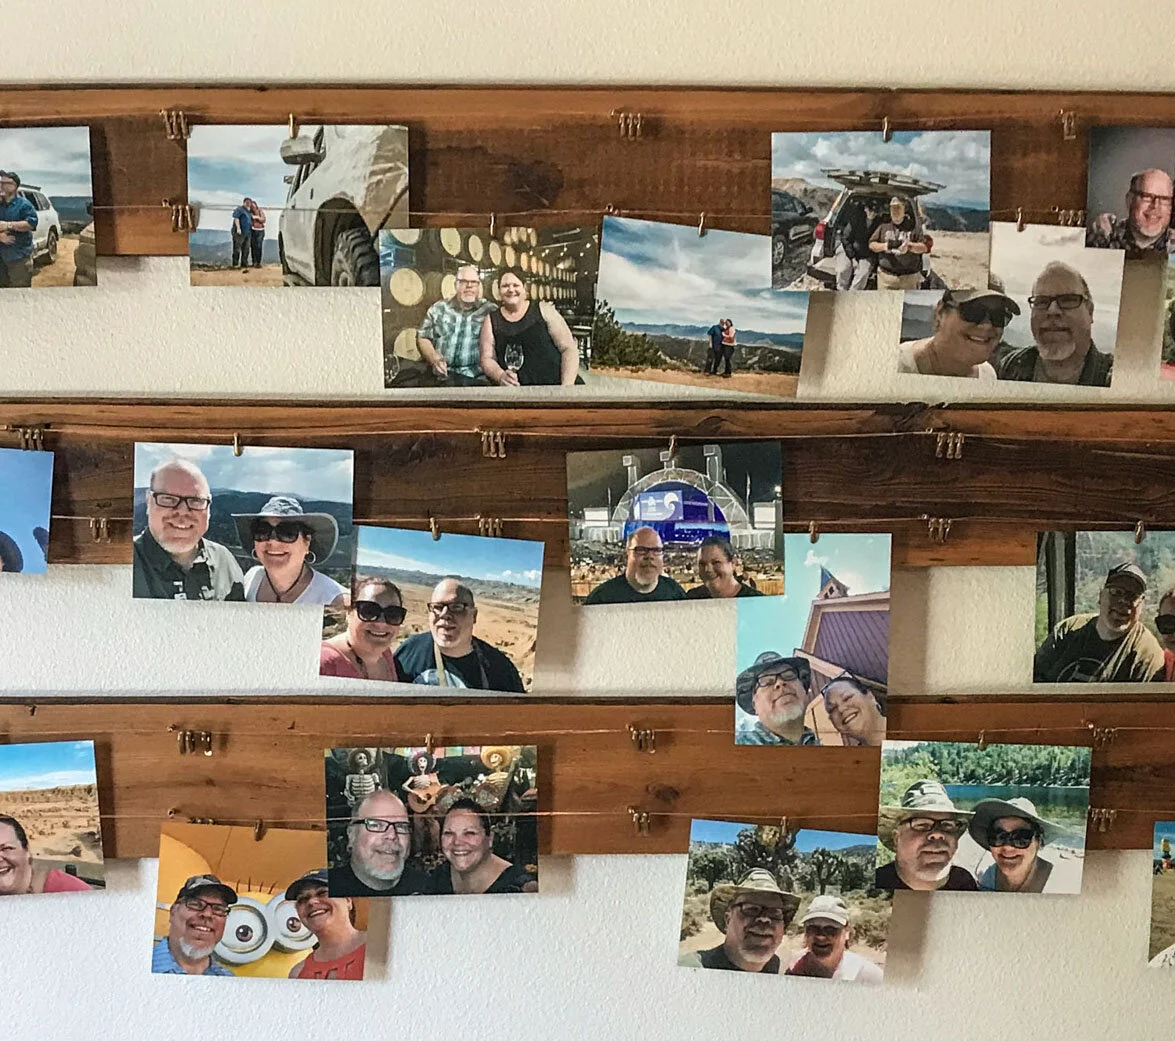
We make it a point to take ‘ussies’ when we’re out and about and have a stack of prints that is always growing. Rather than just keep them in a box we wanted a fun photo/memory wall in our kitchen/dining room. Pinterest provided a range of ideas and I took inspiration from here and there then set about on a DIY project.
Our first stop was to go wander the reclaimed wood bins at Austin Hardwoods over in Santa Ana. A real hardwood store with professional grade tools, cabinetry supplies, lumber (new and reclaimed). It’s a nice place to wander about and dream, and not too far away from Hidden House, one of our favorite coffee shops. We picked out a number of pieces of old shiplap with one side refinished and the other just sanded. We weren’t sure which side we would be using so it was nice to have the option.
Onto the project:

I made a planogram of possible placement of the planks. We toyed with the idea of incorporating some shelves, but chose to not add them once we got started.
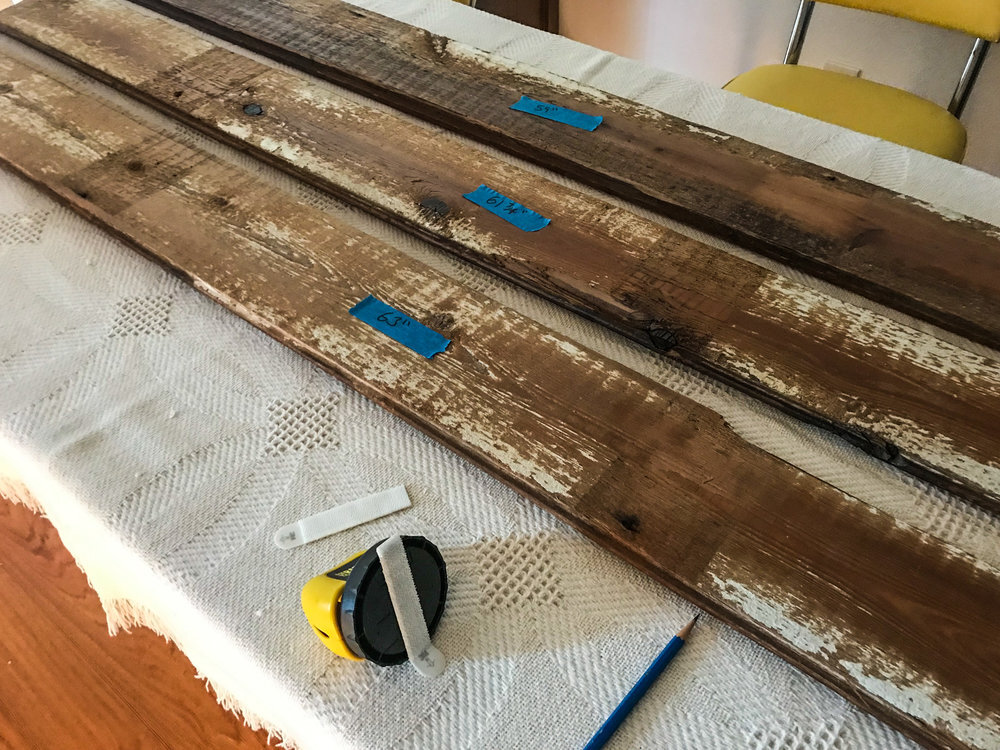


Planks were measured, roughly planned out on the wall with painter’s tape. Then, using a laser-level were marked more accurately.
I used aluminum Eagle-Clips, available from Amazon. These are shallow french cleats for hanging artwork and other items. I plotted out their placement on the boards, then their position on the wall and started hanging, wrapping up this phase with a test fit of the boards on the wall. I used adhesive-backed furniture felt to ensure a snug fit, and so that they didn’t rattle. While this wasn’t expensive hardwood, it wasn’t particle-board either. So measuring is important. ;)


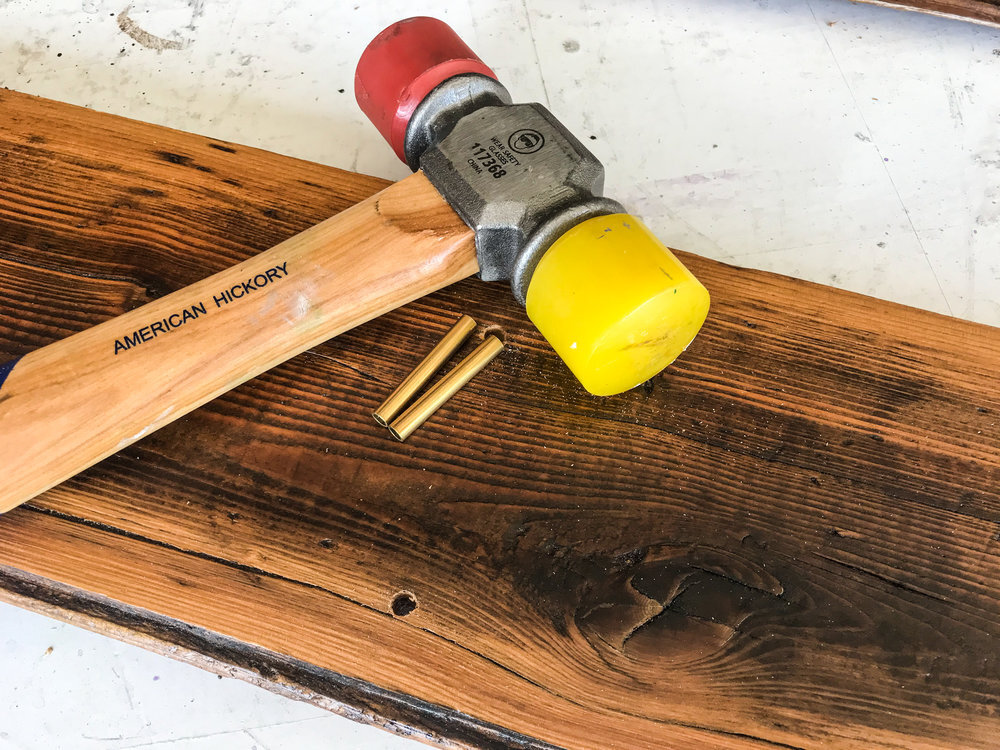
When we were looking at the Pinterest ideas we liked the idea of hanging the photos from clips. So I doodled a bit and browsed Etsy and found a guy in Turkey who sells a variety of brass pieces, lots of jewelry-making supplies and related stuff. I purchased some very cool small little brass alligator clips. They arrived in record time and I was really pleased with them. I also purchased pre-cut brass tubing from him as well. If you have any interest in that type of goods have a look at OzBrassShop.

Once the holes were drilled, it was just a matter of assembling the pieces and solving along the way…
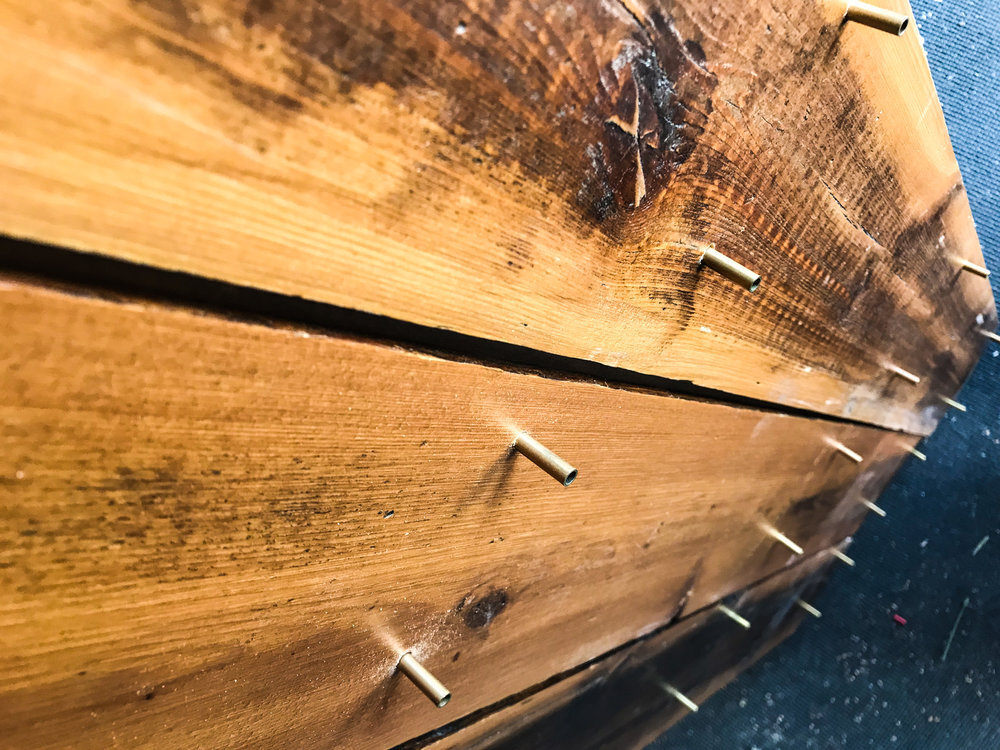
Once the brass tubes were ‘planted’, I made a bunch of eyelets out of copper wire, then ran thinner gauge copper wire through them. The thin wire is where the clips will hold the pictures.

We’re happy with how it turned out and look forward to adding to our story.
