Stained Glass Sunbeams, 03.16
Its been several months since I did any stained glass work, fortunately I remedied that this weekend. I had a rough idea and also wanted to make this be my biggest piece yet. So I began with some sketches in an application called Concept. Sketching on the iPad will take some getting used to, but its something I want to incorporate into my workflow, so better to start and stumble a bit rather than never try. The iPad and Pencil combo works better than any similar thing I’ve tried, and I’ve tried several options, they got this right.
Thumbnail on the left and larger pattern on the right.
When you plan out a piece you have to pay attention to where the glass meets and how its cut. On this piece I kept it very linear. The more curves you incorporate it really increases the technical challenge of putting it together. Next time I work this big (or bigger) it’ll have more curves.
Here is the sketch and the first full-sized paper pattern.
Then cut the pattern out with these three-legged scissors that take a tiny slice of paper out from in-between the lines. Pretty nifty and definitely a specialized tool.
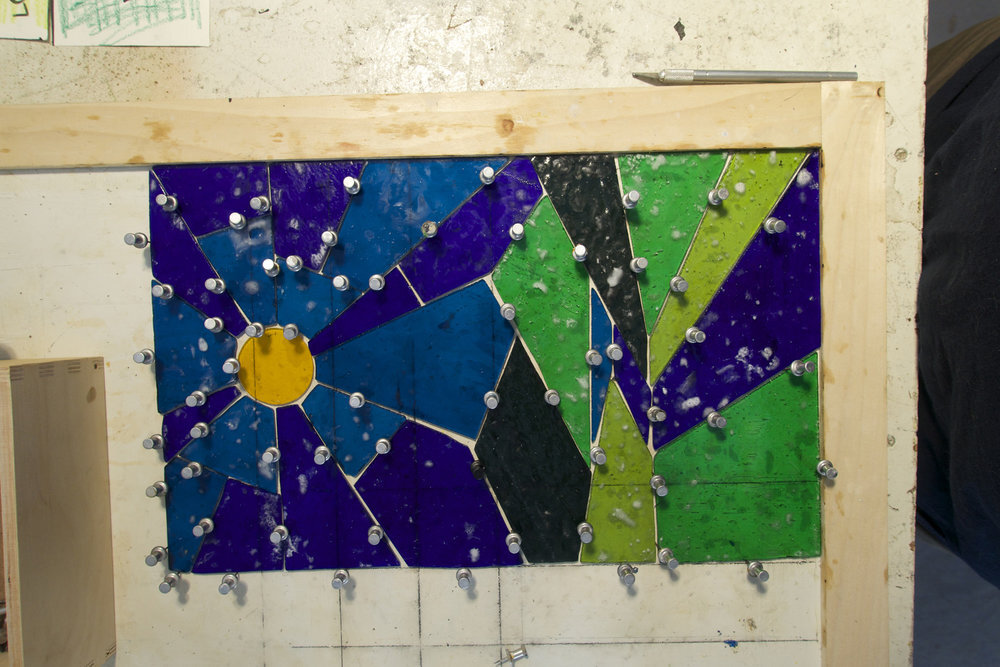
Once the pattern is cut out, its time to start cutting and shaping the glass. A little wet rotary grinder lets you fine tune your other cuts as well as do curves and rounds. All pinned in place. It took a little fine tuning.
Part of the process
The outside edges of each piece are wrapped in a copper tape with adhesive and then burnished into place. I lost a bit of the alignment in the middle.
Little hanger corners are made out of some nickel plated wire and then soldered onto the top corners.
Then the piece is soldered together with a big soldering iron and 60/40 solder. Once the piece is together, a C channel of lead is wrapped around the edges and soldered into place. After that I treated the inside solders with a copper colored patina, and the outside with a black patina.
Completed piece with light coming in from the back. This is my first piece that is all clear glass instead of some of the more marbled or opaque glass I’ve used before.
And the finished piece lit from the front. The yellow for the sun is a piece of antique glass with some nice detail in it.
This piece ended up being a wedding present for a friend, you can see more of my stained glass work in this collection on theMirrorpool.


